Iron casting — opportunity & challenge for lightweight construction
Lightweight construction does not automatically mean “light metal”, as light metals cannot be used at high temperatures and pressures. Thin-walled cast iron or steel and innovative, bionic design are used to create components that can compete with functional elements made of light metal.
Mass savings and good mechanical properties are accompanied by high technological challenges. Anyone who is ahead of the game here can also enter the competitive market for lightweight safety components as an iron caster. Process monitoring based on meaningful inspection data enables high quality and ultimately more profit. Non-destructive testing of cast iron with CT can help here.

CT image of a turbocharger
Identifying typical defects in iron casting with industrial CT
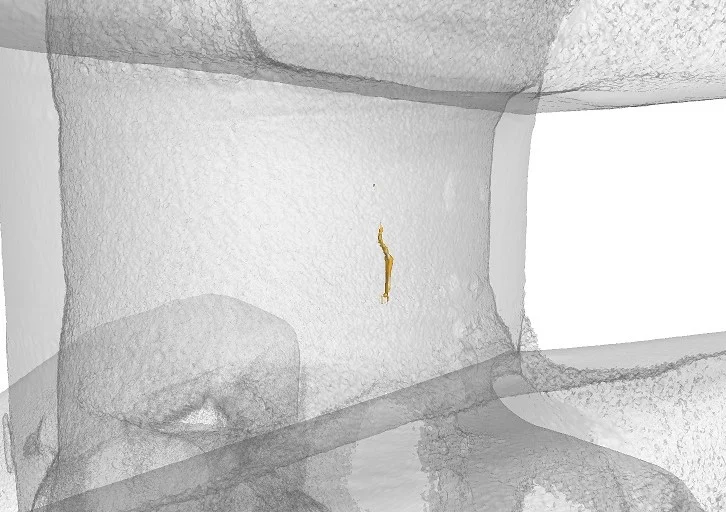
Crack testing
Crack in the part in a 3D view:

Crack in the part in a 2D view:

Porosity analysis
Pores in the part in a 3D view:

Pore in the part in a 2D view:

Procedure for non-destructive testing of iron casting
Series testing
Complicated components in high-quality end products? Major damage caused by quality defects that far exceed the manufacturing costs? Safety-relevant components that require a 100% inspection?
In these cases, fast, low-cost & non-destructive testing of cast iron is required. Industrial CT makes this possible. Thanks to ready-made process & automation modules, high levels of maturity can be achieved quickly & at low cost in the inspection process.
Inspection in the Microvista test laboratory

Automated evaluation of your CT scan via Microvista Cloud
Mobile CT solution

Sampling
Inspection required for acute problems in production? Customer returns? Qualification of product changes?
Reliable information on product condition, inclusions, cavities or other properties must be available quickly in order to react in good time and draw the right conclusions. Expertise in the planning and execution of the CT scan as well as in the subsequent analysis are crucial for this.
Inspection in the Microvista test laboratory

Expert evaluation of your CT scan via Microvista Cloud
Recognizing differences between simulation & reality in iron casting with industrial CT
A designer’s imagination and the results of the simulation do not always match reality.
Cross-sectional areas of ducts must lie within specified tolerances, otherwise the hoped-for performance will fall short of the designed expectations.

Cross-section measurement


